How to Play Atomcraft
Controls, drills, Help system, and your first survival loop
How to Play Atomcraft
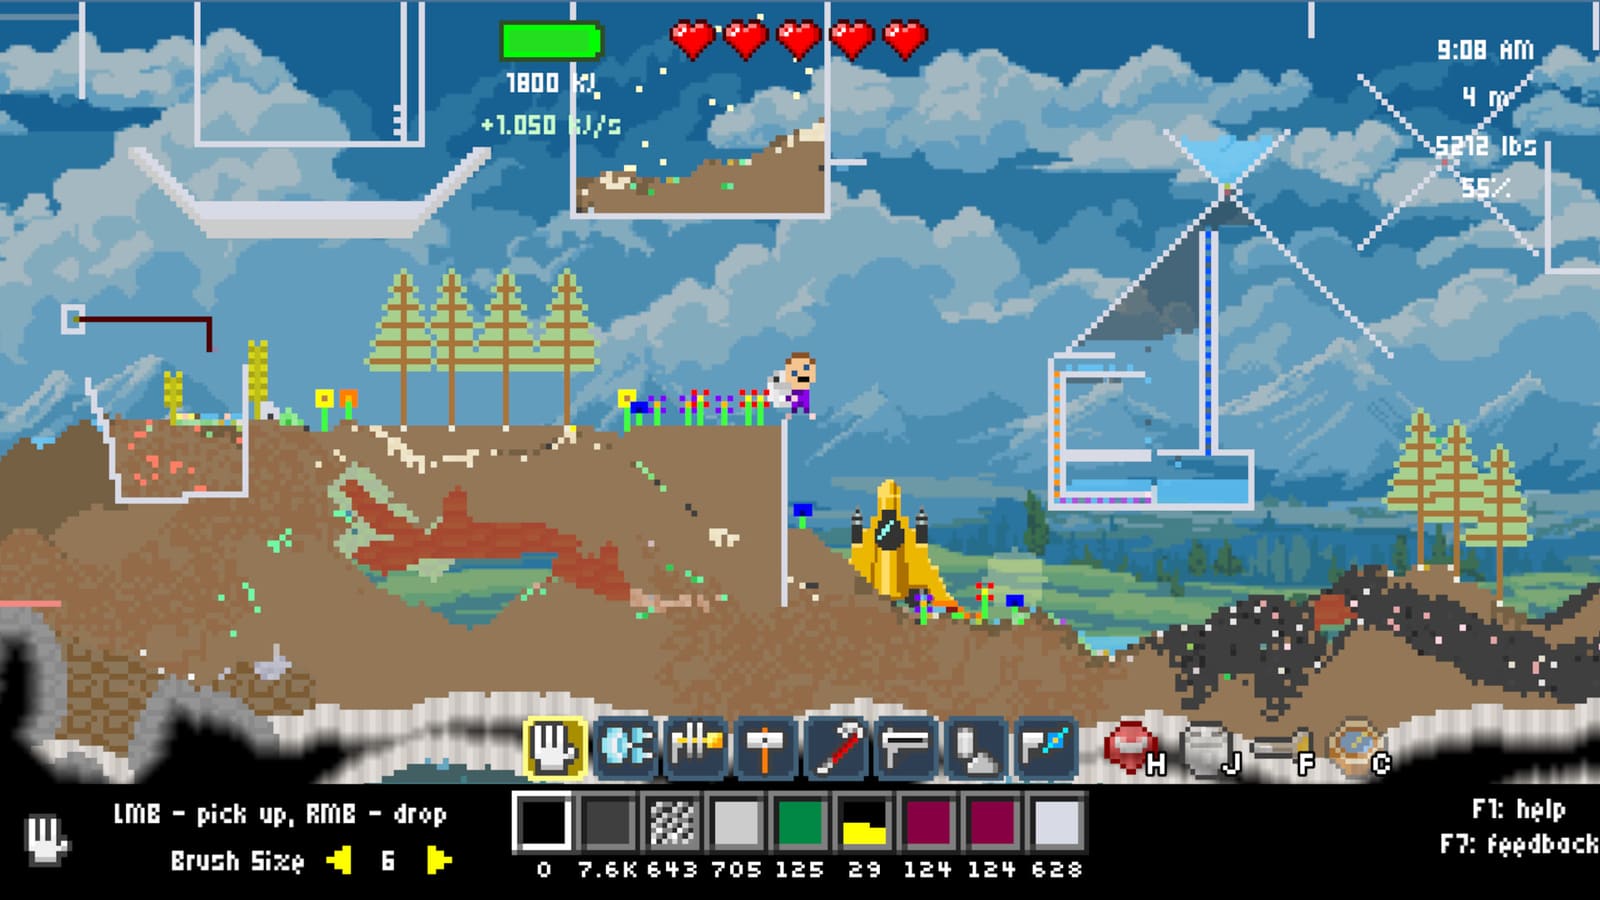
Atomcraft drops you into a reactive pixel world where digging, heating, and combining materials matter as much as combat or crafting menus. This beginner guide explains how to play Atomcraft from the first minutes: movement and interaction, the F1 Help System, Material Guide tracking, drill progression from Plastic through Copper, charcoal and forge goals, and how spaceship restoration ties into Research Points. Return to the Guides hub anytime for sibling walkthroughs.
Core controls in Atomcraft
On keyboard, move with WASD. Press Enter to interact with nearby stations, doors, or interactive pixels. Toggle your flashlight with F when caves and ship interiors go dark. Open the F1 Help System whenever a tool or reaction confuses you—official descriptions sit one key away. Controllers are supported if you prefer a gamepad; map the same verbs (move, interact, light, help) in your device layout and you will stay aligned with this guide.
Inventory and placement feel pixel-precise because materials are individual pixels. When piles mix—wood chips next to ash, ore next to slag—hold Left-Ctrl to pick a specific pixel type instead of grabbing whatever is on top. That selection habit becomes critical once you build a forge.
Watch: Atomcraft beginner overview
The video below is a practical visual companion while you learn the first-hour loop of digging, heating, and interacting with the world.
Your first survival priorities
- Scout resources near your landing or crash site: wood for chips and charcoal, clay for forge walls, early ores such as Cuprite.
- Upgrade your dig power. Drill progression runs Plastic → Wood → Copper (Copper mines cassiterite) → higher tiers. Plastic barely scratches hard rock; Wood expands soft mining; Copper opens cassiterite for tin and bronze routes.
- Make charcoal before you expect reliable metal. Pile wood chips, set the pile on fire, and let the inner chips convert into charcoal while the outer layers burn.
- Build a forge as soon as clay and charcoal exist. Follow How to Build a Forge in Atomcraft for the double clay U-shape and charcoal bottom chamber.
- Smelt something useful. Cuprite becomes Copper—the metal that upgrades drills and enables cassiterite mining.
- Eat and rest safely. Cooking keeps long digs viable; see How to Cook Food in Atomcraft.
F1 Help System and Material Guide
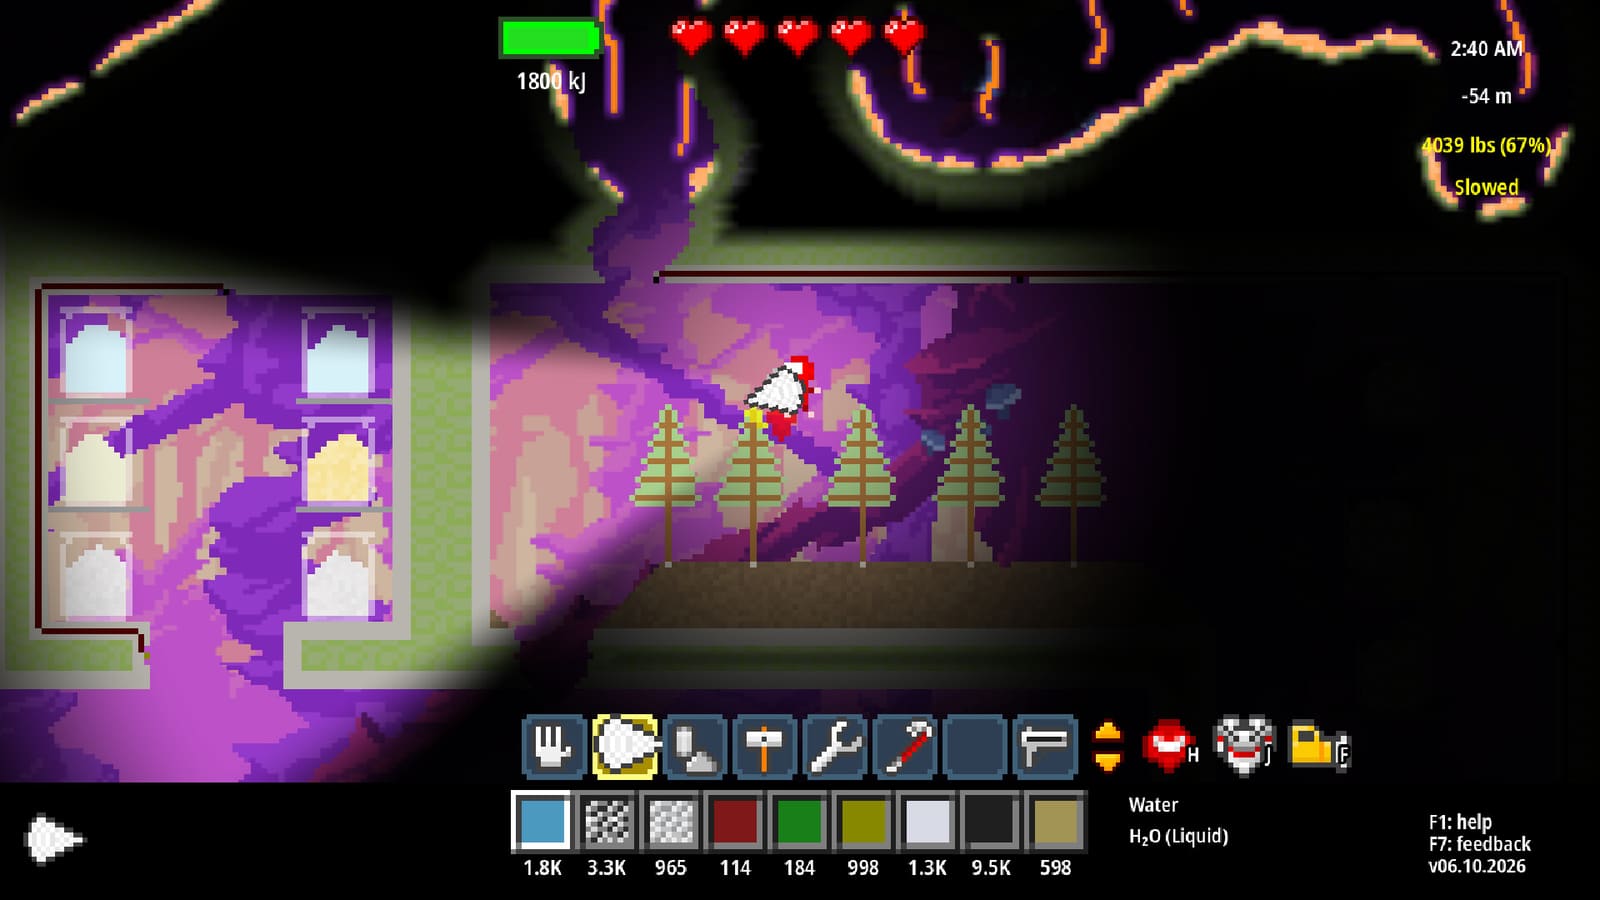
Atomcraft expects you to experiment, but it also gives you a structured Help System on F1. Use it when a pixel name is unfamiliar or when a machine’s purpose is unclear. Pair Help with the Material Guide and its tracking (eye button). Tracking marks materials you care about so exploration stops being random wandering. If you need cassiterite for tin, track it after your Copper drill is ready instead of memorizing every biome tint.
A strong early habit: when you discover a new element or ore, note it, track related needs, and later restore that discovery on the spaceship for Research Points. The Research Points guide and spaceship repair guide explain that loop in depth.
Understanding the chemistry sandbox
Unlike craft-from-menu survival games, Atomcraft simulates heat, fire, melting, and reactions at the pixel level. Charcoal burns hot enough for smelting when contained. Metals appear when ores are heated correctly. Mixing Copper and Tin yields Bronze. Adding Carbon into molten Iron produces Steel—covered step-by-step in How to Make Steel in Atomcraft. Seawater electrolysis later produces Lye, Hydrogen, and Chlorine that can lead to Hydrochloric acid; see How to Use Electrolysis in Atomcraft.
Because reactions are spatial, layout matters. Leave airflow and access paths. Keep flammable stockpiles away from open fires. Build forges where you can stand, fuel, and extract without standing in molten metal.
Drill progression explained
| Tier | Role |
|---|---|
| Plastic | Starter digger for soft materials and first tunnels |
| Wood | Broader early mining once woodworking is available |
| Copper | Mines cassiterite; gateway to tin and bronze |
| Higher | Harder rock and later ores as you unlock them |
Upgrade drills when you notice diminishing returns—slow chips, no yield, or ores you can see but cannot extract. Copper is the first major spike because cassiterite unlocks Tin, and Tin plus Copper makes Bronze for stronger tools and builds.
Mid-early goals after the first forge
Once Copper flows, expand in three directions:
- Metals: chase Hematite for Iron, then Steel when Carbon and molten Iron are ready.
- Ship restoration: return discovered elements to the spaceship; Research Points fund the tech tree that makes late chemistry practical.
- Logistics seeds: even before full factories, place storage so ore, charcoal, and products do not bury each other. When you are ready, How to Automate Machines in Atomcraft introduces conveyors, trapdoors, heaters, coolers, wiring, buttons, sensors, and logic gates.
Common beginner mistakes
- Digging endlessly with a Plastic drill instead of rushing wood and copper upgrades.
- Lighting wood chip piles without protecting the charcoal core or collecting it before it burns away.
- Building a forge with the wrong clay shape or forgetting charcoal in the bottom chamber.
- Grabbing mixed pixels without Left-Ctrl and contaminating a melt.
- Ignoring F1 and the Material Guide eye tracker, then getting lost looking for cassiterite.
- Hoarding discoveries instead of restoring them on the ship for Research Points.
Suggested first-session checklist
- Move, interact, and flashlight feel natural (WASD, Enter, F).
- Opened F1 Help at least once and enabled tracking on a priority ore.
- Produced charcoal from wood chips.
- Built a working clay forge and smelted Cuprite into Copper.
- Planned the next upgrade toward a Copper drill and cassiterite.
- Cooked a meal so hunger does not end the session early.
- Visited the ship to understand where restored elements will go.
Where to go next
Continue with How to Build a Forge in Atomcraft if your forge is not reliable yet. When metals are flowing, follow How to Make Steel and start restoring the ship for Research Points. Browse every sibling page from the Atomcraft Guides hub.
Atomcraft rewards players who treat the world like a laboratory. Master controls, upgrade drills on schedule, read F1 when stuck, and convert every discovery into ship progress—and the sandbox opens up.
Frequently Asked Questions
Quick answers tied to this page.
What are the basic Atomcraft keyboard controls?
WASD to move, Enter to interact, F for flashlight, and F1 for the Help System. Use Left-Ctrl when you need to pick a specific pixel type from a mixed pile.
Does Atomcraft support controllers?
Yes. Atomcraft includes controller support in addition to keyboard and mouse, so you can map move, interact, light, and help actions to a gamepad.
How does drill progression work in Atomcraft?
Drills advance Plastic → Wood → Copper (which mines cassiterite) → higher tiers. Upgrade when a material stops yielding under your current drill.
What should I craft first in Atomcraft?
Prioritize charcoal from wood chips, a clay forge, and Copper from Cuprite so you can reach a Copper drill and cassiterite.
What is the Material Guide eye button?
It enables tracking in the Material Guide so you can mark ores or elements you still need and hunt them more efficiently while exploring.
How do I earn Research Points while learning the game?
Discover elements, then restore them on the spaceship. The Research Points and spaceship repair guides detail efficient restoration loops.