How to Use Electrolysis in Atomcraft
Seawater electrolysis for Lye, H2, Cl2, and HCl paths
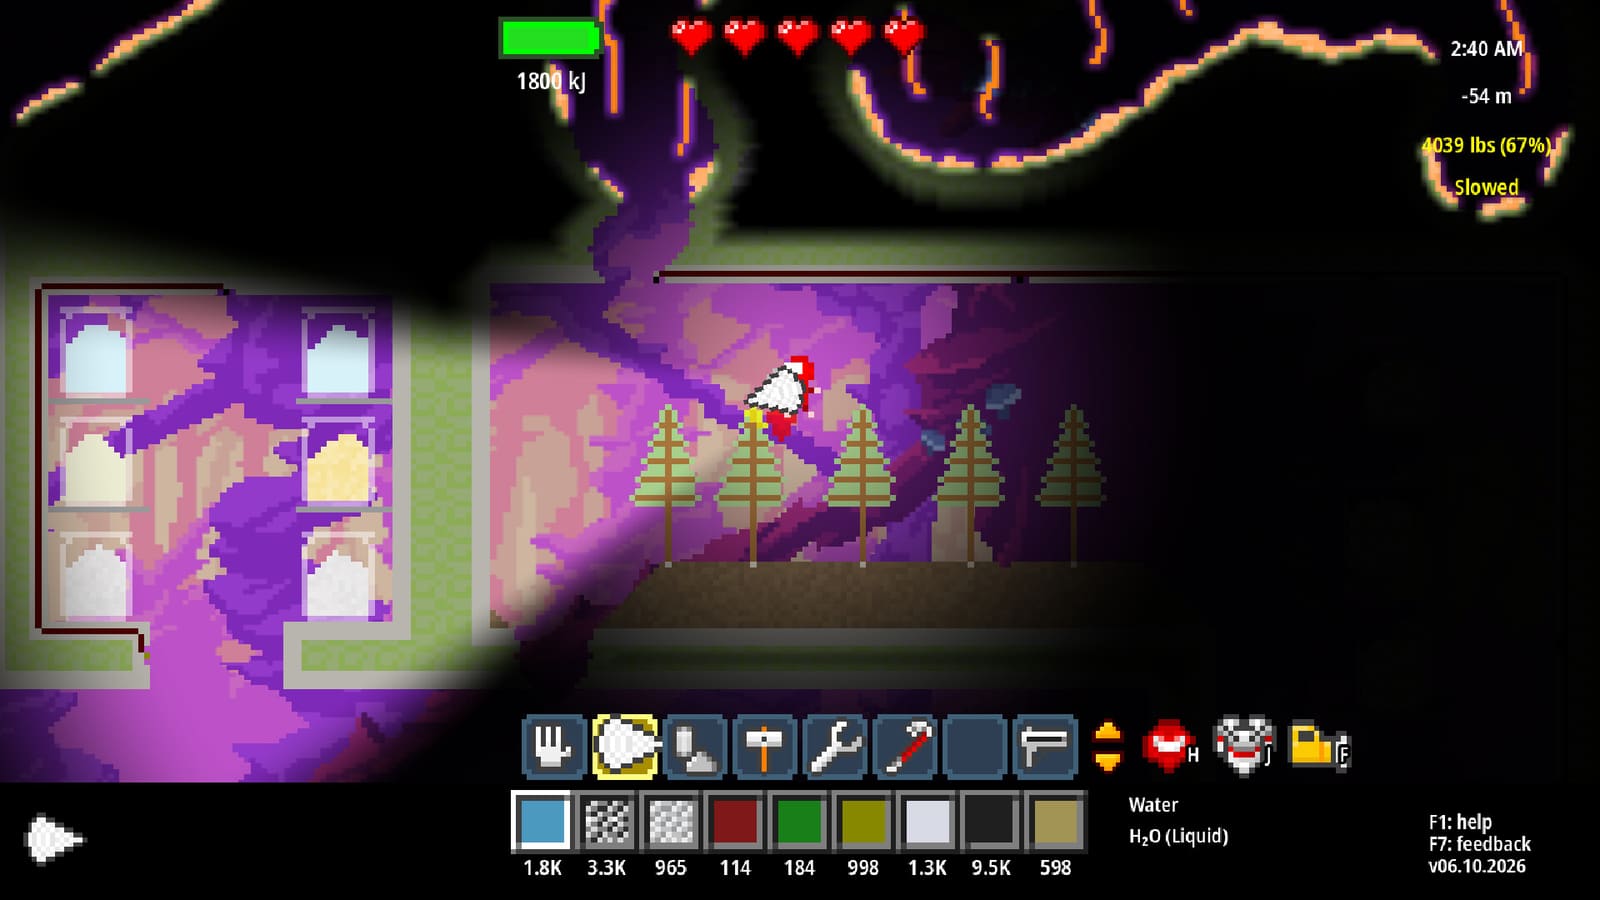
How to Use Electrolysis in Atomcraft
Electrolysis opens Atomcraft’s wet-chemistry branch. Instead of only melting ores in a forge, you process seawater to obtain Lye, Hydrogen (H2), and Chlorine (Cl2), then push Chlorine chemistry toward Hydrochloric acid (HCl). This guide covers when to unlock electrolysis, how to stage a safe workspace, what each product is for, and how to fold discoveries into Research Points. Browse siblings from the Guides hub.
When to start electrolysis
Begin after basic survival and metal tools exist. You want:
- Stable food and light (F flashlight in seaside caves)—How to Play Atomcraft and How to Cook Food.
- A forge and at least Copper-tier digging so you can reach coastal or flooded areas without soft tools failing (forge guide, steel guide as you advance).
- Research Points invested into the chemistry unlocks that enable electrolysis equipment (Research Points, spaceship repair).
Electrolysis is a poor first-hour project. It shines when charcoal-and-clay industry already funds expeditions.
What seawater electrolysis produces
Atomcraft’s seawater electrolysis chain is worth memorizing:
- Run electrolysis on seawater.
- Collect Lye, Hydrogen, and Chlorine as products of that process.
- Use Chlorine pathways to produce Hydrochloric acid (HCl) when your setup and unlocks allow.
Each product is a discovery opportunity. Restore new chemicals on the ship before you burn through unique samples in side experiments.
Building a safe electrolysis bay
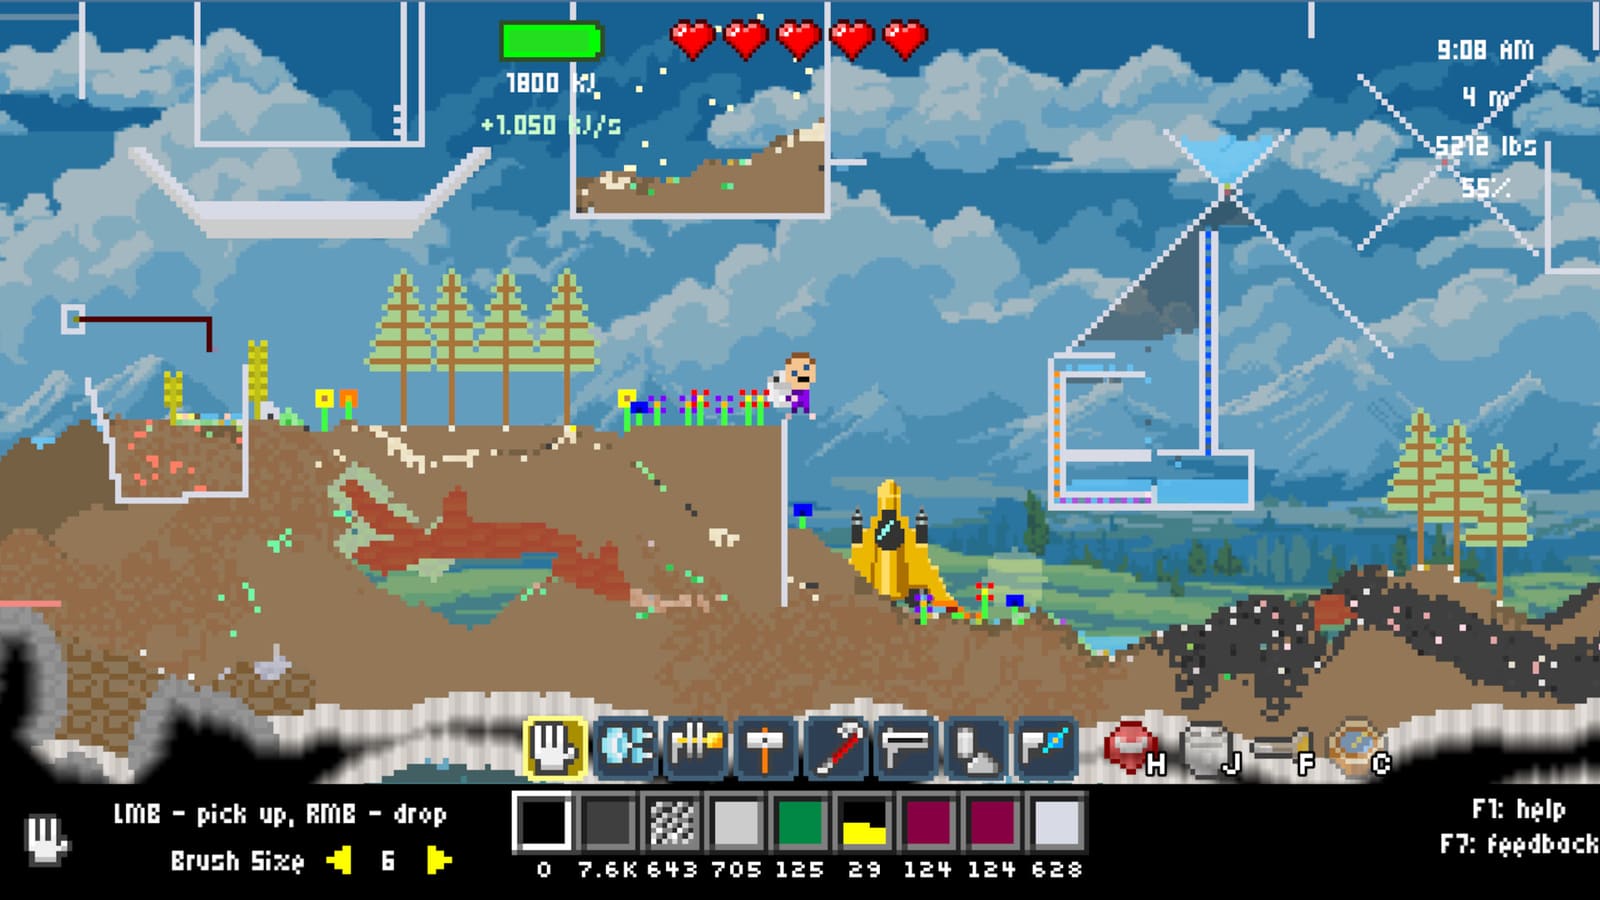
Separate the bay from charcoal pits and open forges. Hydrogen is flammable in spirit even in a pixel sandbox—players who ignite everything beside gas storage learn the hard way. Use non-flammable boundaries, clear standing room for Enter interaction, and keep Left-Ctrl picking ready when products mix with seawater residue.
Practical layout ideas:
- Seawater intake or bucket line on one side.
- Electrolysis apparatus centered with wiring access for later automation.
- Product jars or pits labeled for Lye, H2, and Cl2.
- A courier chest for ship restoration samples.
- Optional heaters/coolers only when a recipe needs temperature control—see mechanical pixels in How to Automate Machines in Atomcraft.
Step-by-step first electrolysis run
- Confirm seawater access and any containers you need.
- Power or activate the electrolysis setup per your unlocks (F1 Help if a part’s function is unclear).
- Start the process and watch product pixels appear.
- Isolate Lye, H2, and Cl2 using careful picks (Left-Ctrl).
- Store Hydrogen away from routine ignition sources.
- Stage Chlorine for HCl follow-up reactions rather than scattering it across the base.
- Restore first-time products on the spaceship for Research Points.
- Only then scale volume for industrial use.
From Chlorine to Hydrochloric acid
HCl is the headline acid for many later reactions. After Chlorine exists, follow the in-game chemistry toward HCl rather than inventing random mixes. Use the Material Guide eye tracker on intermediates you still lack. If a reaction stalls, verify you still have Chlorine gas/pixels available and that you did not quench or vent them accidentally while rearranging the bay.
Document what worked. Electrolysis sessions are longer than Cuprite melts; repeating a successful path is faster than re-deriving it from memory after a week away.
How electrolysis supports the wider game
- Research Points — new chemicals are restoreable discoveries.
- Steel and metals — acids and lye enable processing paths that pure smelting does not.
- Automation — pumps, conveyors, sensors, and logic gates can eventually meter seawater and pull products, but learn by hand first.
- Exploration — coastal routes become valuable real estate; protect them like ore veins.
Common electrolysis mistakes
- Building the bay against an active charcoal forge.
- Skipping ship restoration of Lye/H2/Cl2 first finds.
- Losing track of which dark liquid is seawater versus product—use F1 and the Material Guide.
- Trying electrolysis before Copper-tier mobility and RP unlocks.
- Grabbing mixed pixels without Left-Ctrl and contaminating HCl attempts.
Scaling up after the first success
Once HCl exists, decide which recipes deserve automation. Mechanical pixels—conveyors, trapdoors, heaters, coolers, wiring, buttons, sensors, logic gates—can keep seawater feeding while you dig inland. Do not automate a broken hand recipe; fix yields manually, then encode them in machines.
Keep feeding the metal ladder in parallel. Electrolysis does not replace Hematite or Carbon; it complements them. Players who only do seawater chemistry still need How to Make Steel in Atomcraft for structural power.
Session checklist
- RP unlock confirmed for electrolysis gear.
- Bay isolated from open fire and charcoal piles.
- Seawater supply stable for a full run.
- Lye, H2, Cl2 separated and partially reserved for the ship.
- HCl path attempted only after Chlorine is secured.
- Tracker updated to the next missing chemical.
- Food and light prepared for the walk home.
Electrolysis in Atomcraft rewards tidy laboratories. Treat seawater like ore: locate it, process it with the right machine, separate products with discipline, restore discoveries for Research Points, and only then scale. When your bay is calm and HCl is repeatable, you are ready to wire sensors and logic from the automation guide.
Frequently Asked Questions
Quick answers tied to this page.
What does seawater electrolysis make in Atomcraft?
Electrolysis of seawater produces Lye, Hydrogen (H2), and Chlorine (Cl2), which you can further process toward Hydrochloric acid (HCl).
When should I unlock electrolysis in Atomcraft?
After basic forge metals, Copper-tier digging, and enough Research Points from spaceship restorations to support the chemistry equipment.
Is Hydrogen dangerous to store near the forge?
Keep Hydrogen and Chlorine bays separated from charcoal fires and open ignition. A dedicated electrolysis area is safer than sharing the smelting hall.
How does electrolysis help Research Points?
Lye, Hydrogen, Chlorine, and HCl are discoverable chemicals you can restore on the spaceship for Research Points.
Should I automate electrolysis immediately?
No. Complete a clean hand-operated run first, then use conveyors, sensors, and logic gates to scale a proven recipe.